How to Build Your Own Putting Green?
Having a personal putting green is a dream of every golfer, but a myth, that only a rich person can have a putting green of his own has held many golfers back from getting their own putting green. But what if we tell you that all you need is a lawn or garden with some free space for building your very own putting green. The process is quite easy and relatively cheap.
Wondering how it is possible? Here are some steps you need to follow to build your own putting green:
- Decide whether you want an artificial putting green or a natural one
- Choose the location for your putting green
- Get the soil for your putting green ready
- Start the digging process
- Add the drainage
- Separate the green putting from the rest of the lawn
- Place the putting holes
- Plant the grass seeds
- Fertilize, water, and mow
- Include some contouring
- Finishing touches
Now that you know the basic steps, here is an explanation of all the steps to build your putting green. Let’s get started!
1. Artificial or Natural?
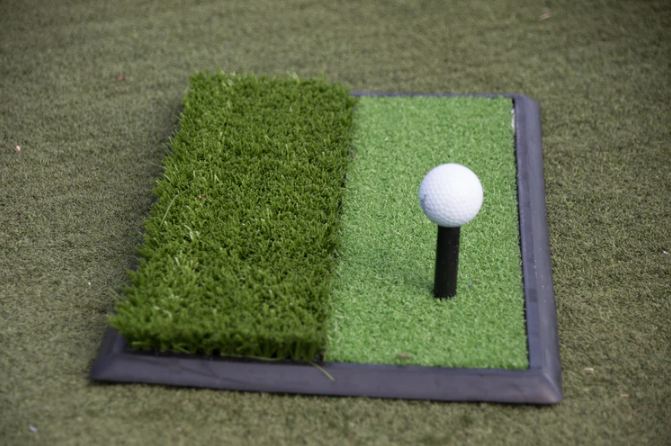
Ask yourself which one of the putting green you would like on your lawn? Is it an artificial one or the real one? Whatever the answer, maybe that’s your choice. Here are the pros and cons of both options.
Natural or real green putting is initially cheaper to install, and it can represent a more accurate green for a golf course. But on the downside, it needs more maintenance and experience in the long run.
On the other hand, artificial puttinggreen can also provide a great representation, and it does not need too much maintenance either. The artificial putting green doesn’t need a step by step guide for installation as it is easy to install. However, while installing the natural puttinggreen, you will need to follow the next steps.
2. Choosing the Location

While choosing the location for your natural putting green, always keep in mind that it needs open space where a sufficient amount of sunlight can reach. Also, check if there are any dips or lower areas in your lawn/garden.
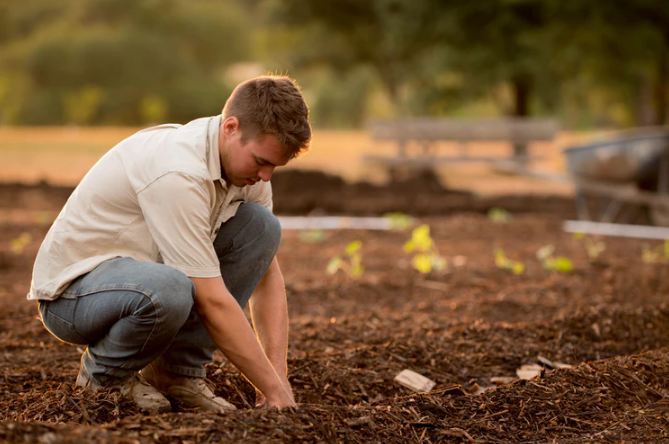
3. Getting the Soil Ready
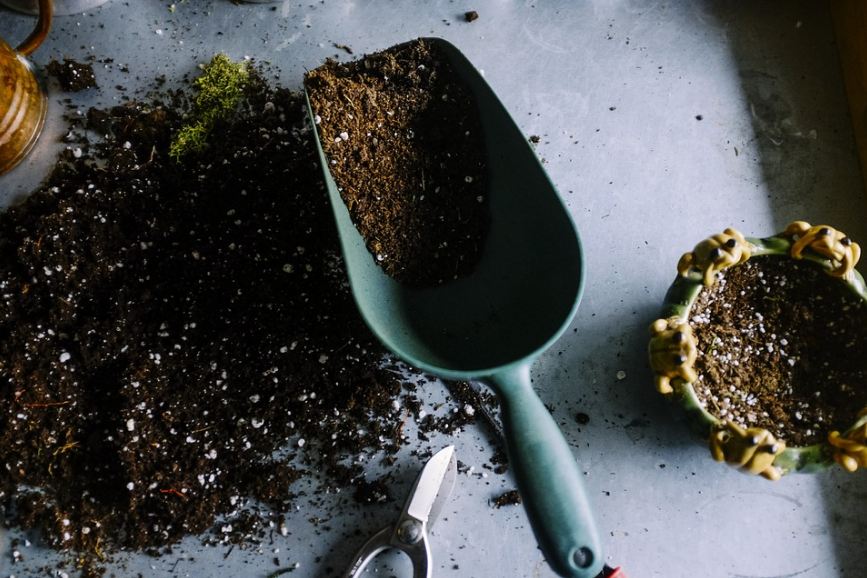
Now, the next step after selecting the location is getting the soil ready. Look at the soil of your garden/backyard, the ideal soil for putting green is somewhat sandy loam soil, but other types of soil can also work. The only thing you need to make sure of is that the soil is not full of clay because that can cause trouble. If there is any turf on the space you have selected for the puttinggreen, remove it, and also remove all the rocks or debris present.
4. Digging
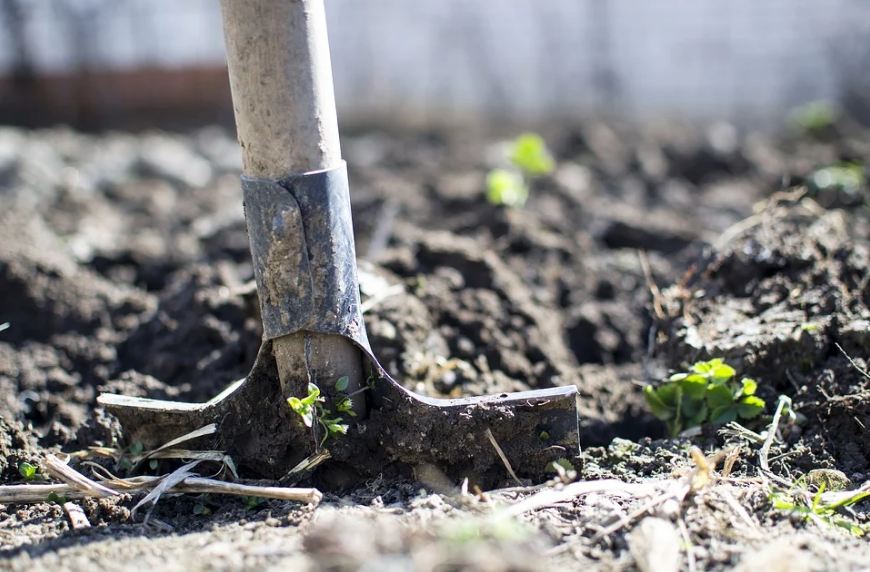
After the soil is ready, you can start the process of digging. You do not need to dig too deep; around 10 inches will be great. Basically, you have to dig a very shallow bathtub that can cover the whole green footprint. After digging, this space will be filled with sand and other things before covering it with grass.
5. Drainage
Installing drainage in your putting green will work great because without it, you might end up with a spongy and soft putting green that will be no fun to play on, and it will also be prone to disease. You can dig trenches at the edge of your putting green. The trench should always slop in a downward direction going away from you. This is to keep the extra water away from your putting green.
6. Separating the Green

Now separating the putting green from the rest of the lawn or garden is an excellent idea as it will help keep the weeds away. The best way to separate the putting green area from the rest of the lawn is by using a plastic lining.
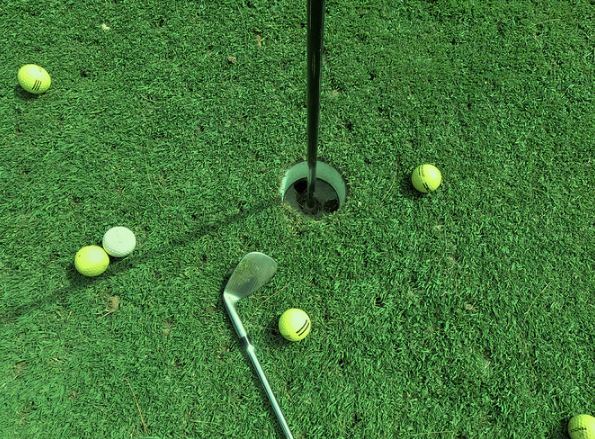
7. Placing the Holes
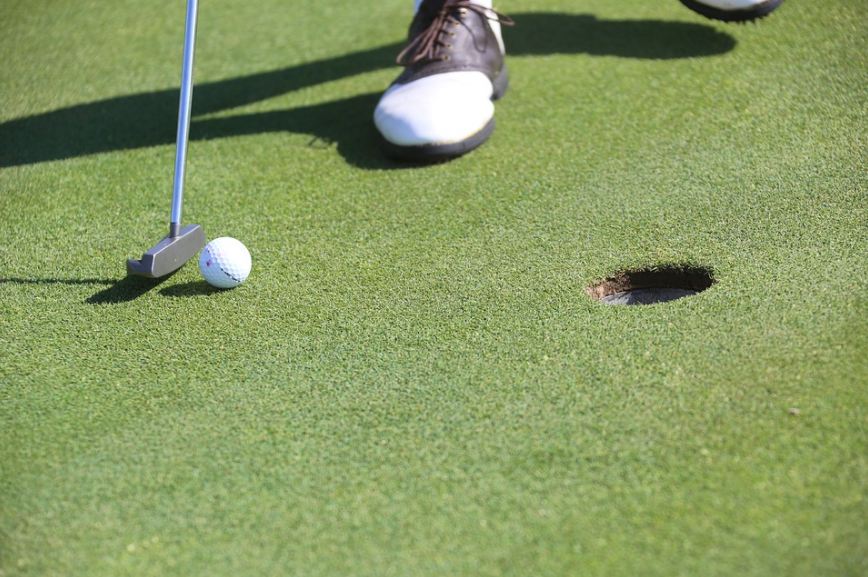
After all the above steps are done, you need to place the holes. Make sure to cut out a hole a little larger than the size of the golf ball. No need to put cups in these holes right away; use these holes as a guide for your putting green layout. You can do the rest of the work later.
8. Plant the Grass Seeds
After the soil is ready and all other steps are done, now is the time to plant the seeds. You can also mix the seeds with a small amount of sand to provide them with some coverage. This can be very helpful if there are a lot of birds in the surroundings of your property.
9. Fertilize, Water, and Mow

Now comes the part that needs the most labor, the creation of putting green. For this, you will have to fertilize and water the grass. It can take almost ten days for the germination of grass to start, and you will have to fertilize and water the grass even after it has germinated. After the sprouting of the grass, you will have to do the mowing. Mowing needs to be done at least three or four times a week.
10. Contouring
If you want a little lilt on your surface, you will need to add some contours to your putting green. You can do it easily by adding humps and bumps to the terrain, but this can be a hard process. To make it easier, get a mini-excavator on rent from any Home Depot, and with its help, you can easily add contours. Just make sure that the surface stays pinnable.
11. Final Touches
Now for the final touches, you should cut some cups to put holes that you cut at the beginning. After you have placed the cups, mow your putting green with a mower that is specially made for mowing greens or use a roller; doing this will make your putting green smooth and slick.
Some Maintenance Tips and Precautions
These basic care and precaution tips can help your putting green stay in its best condition for years. These tips do not cost much and will help anyone who likes their putting green smooth, slick, and fresh.
- Keep any flammable thing or flame away from the green.
- Keep the putting green surface free of any grass clippings, leaves, or debris. For this, a leaf blower can help a lot.
- Be careful while using any tools for edging near the edges of the putting.
- Make sure that the putting green is well-drained and there is not excessive water present in it.
And that’s pretty much it; these tips will help you keep your putting green smooth and good in the long run.
Conclusion
You can always play golf in your garden by just following some steps and make your own putting green. In this way, you can easily practice golf at home whenever you want to without going to a golf club. Not only this, but it will also add a special addition to your garden’s décor that will surely catch many eyes. So, why don’t you get yourself started on building a putting grass in your garden?